How To Get More Likes: 10 Tips For Instagram Overachievers!
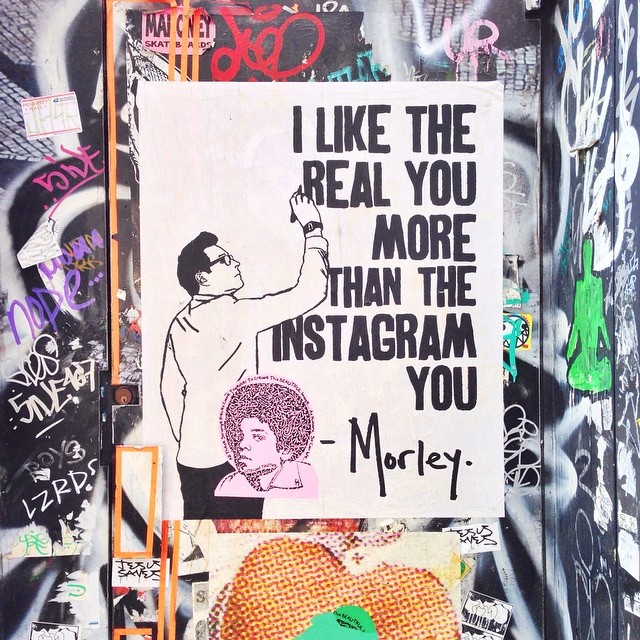
Since tomorrow is the start of #lovetober, I thought it would be the perfect time to share with you a few of my favourite tricks for getting my Instagram photos to look wonderful.
I like to use Instagram as a kind of visual diary, but I’m also very thoughtful about what I post. My goal is that anyone who looks at my account will feel good and happy, so even if I see something that makes me laugh but is a little mean-spirited, I won’t post it. Like all my other online spaces, I strive to make it a place of positivity.
Now, here are my top tips!
THINK ABOUT YOUR LIGHT
The most important thing about taking great photos — whether they’re for Instagram or not — is to think about your light. Even if your make-up was done by Kevyn Aucoin, if you took a selfie in a dark room, it won’t look terribly lovely. It’s all about light.
I almost never take a photo once the sun has gone down, because the lack of light will automatically make your shot look grainy. Use natural light! If you’re going to shoot a still life image (see below for more tips!), do it near a window. And if you’re going to take a photo of your friend, don’t do it in the middle of the day: the sun will be above them, casting terrible shadows all over their face. Instead, take portraits first thing in the morning or a couple of hours before the sun sets.
The difference between a great Instagram photo and an average one is the amount of light in the picture.
AFTERLIGHT
Afterlight is one of my favourite apps, and has been for about a year or so. It has a lot of filters but I don’t really use them. What I love Afterlight for is brightening photographs, so you can fake the aforementioned light if you need to!
Once you’ve loaded up your photo, press the second icon (three lines with dots on them). I like to brighten my photos by increasing the Brightness (sun icon), Contrast (half-coloured circle), and Exposure (square with a plus and minus in two corners).
As long as your photo wasn’t super dark to begin with, this makes an enormous difference. I brighten every single photo I take!
You can also use Afterlight to fit a normal photograph into a square. Just press the icon on the far right (it’s a circle inside a square), press Original, and then choose the image of two vertical lines. It will automatically resize your rectangular image so that you can post it on Instagram. Yay! I also love their Instant Film photo frames. Very cute.
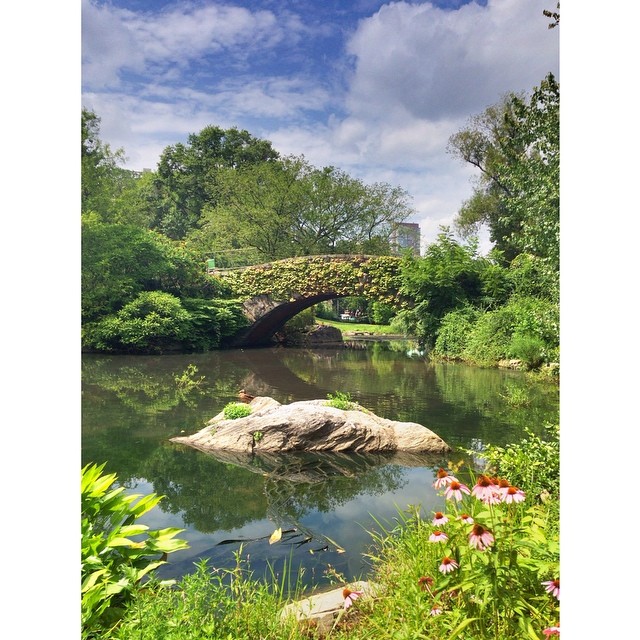
PRO HDR
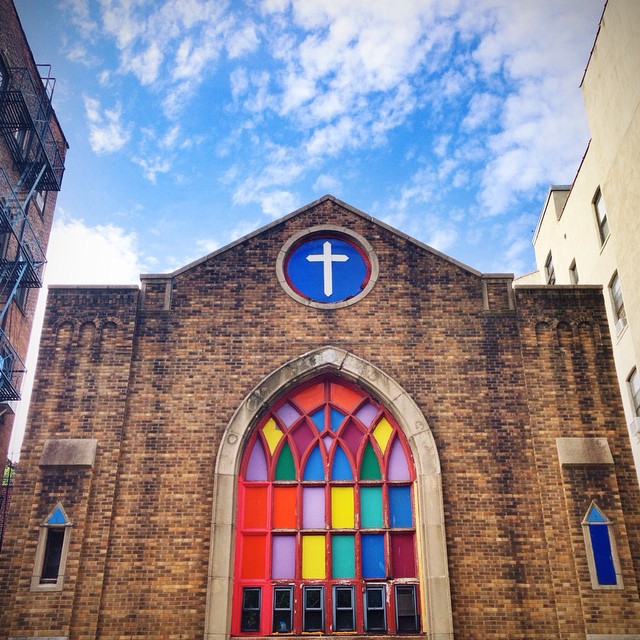
Whenever I see a beautiful sunset or I’m standing somewhere with a great view, Pro HDR is my go-to app. It takes two photos and then knits them together so that you have an equal amount of light and dark, and it makes everything look gorgeous.
The photo above was taken in Central Park using Pro HDR, and I didn’t need to edit it at all. The most important thing to keep in mind when you use this app is to stay absolutely still. Lean on a tree if you have to, or just hold your breath!
USE A CAMERA
Some people consider this “cheating”, but hey, I say, if it makes your photos look better, go for it. Your phone’s camera is only going to be so good, after all. I have a Samsung NX 3000 which rocks my world because a) it is small and lovely, b) it takes amazing photos, and c) I can send my photos to my phone using the camera’s built-in wifi! Genius!
In fact, since I bought my camera a couple of months ago, I’ve only posted a few photos I took using my phone, and I used Pro HDR for most of them!
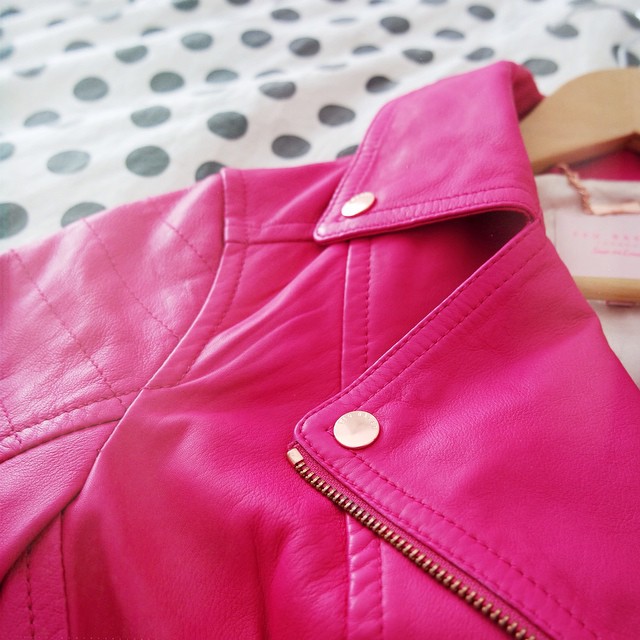
PRACTICE YOUR STILL LIFE SKILLS
We always say at The Blogcademy, “Photos of experiences get more engagement than selfies”, and it’s true. People want to see where you’re going and what you’re doing, and that will invite more conversation and new followers than pouting in the backseat of a taxi. You can certainly share photos of mountains, vistas, and hotel rooms, but sometimes a fun way to tell a story is by taking a still life photo containing elements of your latest adventure.
If you’ve just visited New Zealand, for example, maybe your photo shows some of the colourful currency, a bottle of L&P, and some souvenirs you picked up. My babe Shauna is a complete still life genius, and she arranges great arrays of stuff to tell a story about a trip we’ve taken. There is definitely an art to this: it’s not just as easy as throwing a bunch of stuff on a table and shooting it! In fact, we have a Home School video full of tips, and it’s only $20. Check it out!

FOR THE PERFECT SELFIE…
Stand facing a window, so you have soft filtered light on your face. Hold the camera slightly above your head. Use the volume buttons to activate the shutter (whether you have an iPhone or an Android, this works!). Think about your background, too! And if you’re looking extra-tired, or you have a random pimple, use FaceTune (see below!) to improve the result.
In case you’re wondering, I did all of the above for the photo up there!

FACETUNE
FaceTune is kind of brilliant. Every time I tell people about it, they come back to me raving excitedly. You can use FaceTune to get rid of blemishes (using the Patch tool), improve uneven skin (using the Smooth tool), darken your eyelashes (using the Contrast tool), and even whiten your teeth (using — you guessed it — the Whiten tool). You can also get really nutty with FaceTune and reshape your entire body if you so desire, though this may be taking it a little far.
It can be tempting to go really overboard with this app and end up looking like a CoverGirl commercial, but try to restrain yourself! I may have used it a little bit too much on this photo of Tiffany and I, but we were under fluorescent lights, so I say it’s okay.

PARTYPARTY
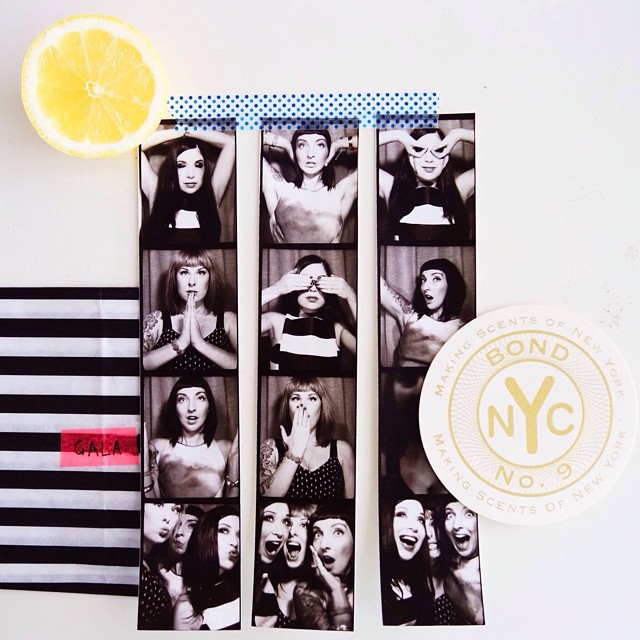
PartyParty is a relatively new app from those lovely girls over at A Beautiful Mess. It takes a series of photos — 4, 9, or 16 — and then turns them into an animated gif, which you can post on Instagram or save as a gif for use on your blog. Needless to say, we love it.
Loulou and I took the photos above using PartyParty: we just sat really still, took a series of shots, and then sped it up!
VSCO
VSCO (available for both iPhone and Android) is my favourite app for changing the look of a photo. It has the widest range of filters you can actually use, and they’re all lovely.
My tip? The previews are all at 100%, but you can change the intensity of the filter, and often the images look much better when you only use them at 50%.
EDIT RUTHLESSLY!
I mean this in both senses of the word: edit your pictures using the apps I mentioned above, but also, be finicky about what you post. I don’t post on Instagram every day, even though I know that if I did, my following would probably grow faster. Instead, I only share the images that I really love.
Don’t post any old crap because you’re bored; post the images that speak to you.
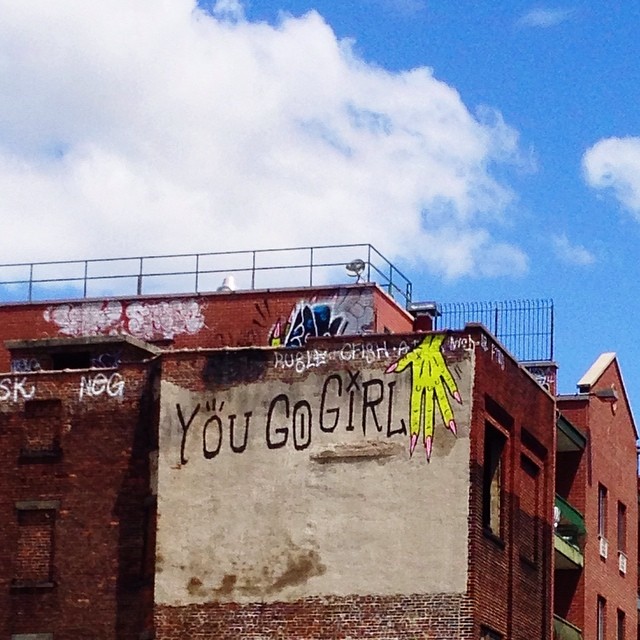
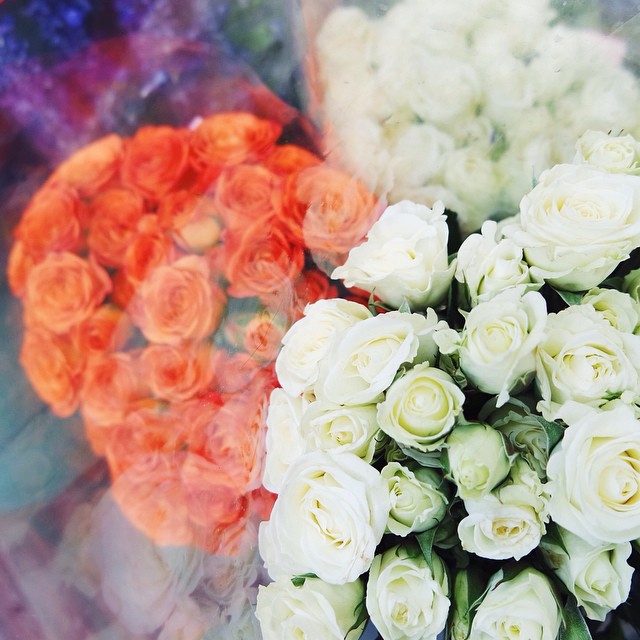
It’s okay to have certain things that you post over and over, too. When I look through my Instagram, I see the same motifs regularly: flowers, street art, and photos of my travels. That’s fine, because that’s my life. If there’s something you love to take photos of — like, in my case, flowers — that’s great, and you don’t have to apologise for it!
Finally, come up with some sort of photo editing regime that works for you. I use the same filters and editing processes on almost all of my photos, because I know how I like them to look. Once you’ve figured out your secret recipe, stick to it! Consistency makes an Instagram account even more beautiful.
I hope these tips help you make #lovetober amazing!
Love forever,
