10 Ways To Make Your Instagram Photos Pop!
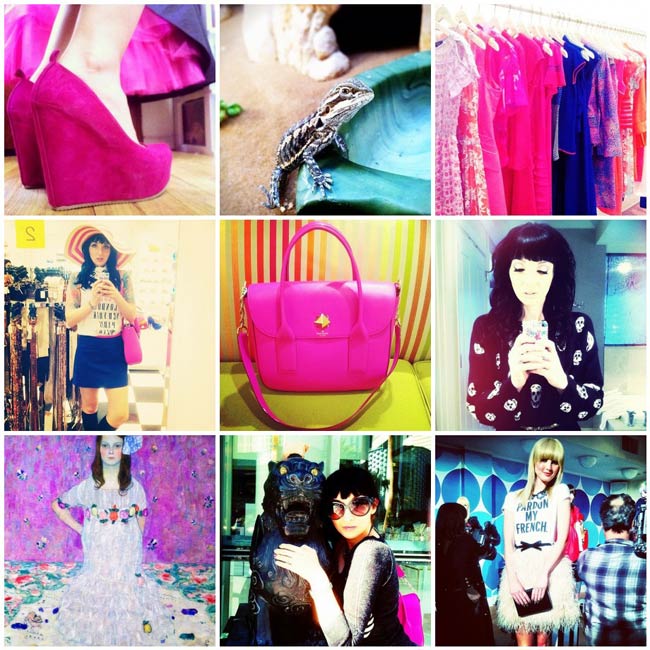
God, I love my iPhone. I’m sorry, I’m sorry! I never understood the hype until I spent a week with my parents last year. My mother & father both have iPhones, & my father — who is slightly app-obsessed — was fiddling with his constantly. I thought I loved my Android, but after using his phone for a little while, I realised I was missing out. I bought myself an iPhone the very next week, & ever since then, I have been a total evangelist.
One of my favourite things about the iPhone is Instagram. Instagram is an app that records your visual life in the same way that Twitter captures it via text.
There’s good news for non-iPhone users, though: Instagram has recently released for the Android phone!
When I was in Las Vegas, I noticed Nubby taking pictures directly through the Instagram app, which is not how I’ve ever done it. I think the very best way to make the most of your photos is to take your snaps using the Camera, & shoot a few of them. Then you can pick your favourites, edit them using an app or two, & add them to Instagram when you’re done. (In Instagram, the icon on the bottom left with two boxes will allow you to import a photo from your library.)
Instagram comes with a few built-in filters, & that’s what most people use. But you can alter your pictures a LOT even before you add them to Instagram. While the photos that come out of the iPhone are pretty good by themselves, there are a few great apps I’ve discovered which can really pump up the volume. In fact, I often run my photos through 2 or 3 apps before I upload them to Instagram. Maybe that’s weird & obsessive, but the results speak for themselves!
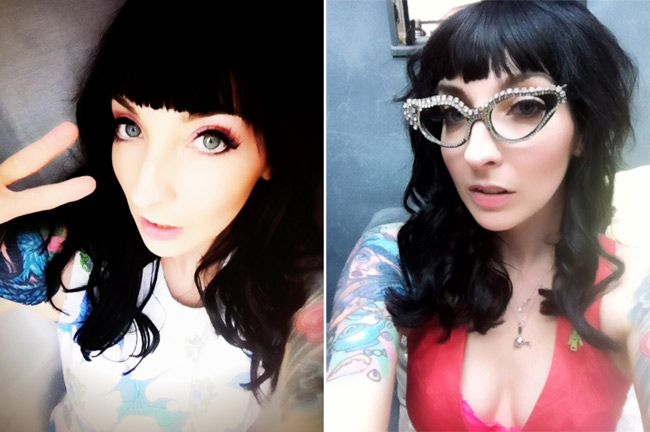
I discovered MoreBeaute just recently & I was so thrilled! This is perfect for self-portraits or pictures of people, because it has this tremendous skin filter which makes everyone look flawless! It’s totally adjustable, too, so you can make yourself look like a total Barbie, or just give yourself a little improvement here & there.
MoreBeaute is extremely simple in design. You either take a photo or select one from your library, & then you can choose from Brightness, Smoothing, Detail & Tone. The changes appear minute on-screen, but a quick flick back to the Before tab will show you just how much the image has changed!
You can see from my examples at the top that you can get extremely overzealous with this app, but this shows you exactly how much you can smooth & blur someone’s skin tone. The answer: a lot!
P.S. If you want to take a self-portrait which makes you look flawless, get as close to a diffused natural light source as possible. Standing next to a window — especially on a cloudy day — is perfect!
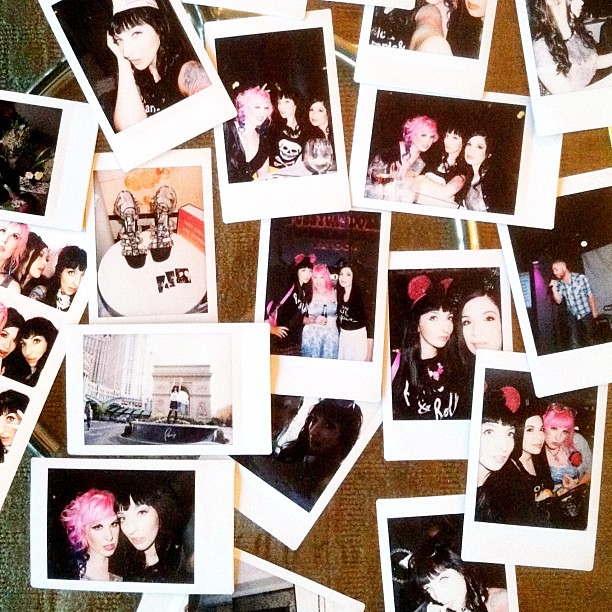
It’s great to vary your shots, & photographing a photo is an excellent way to do it. One of my favourite things to do is snap a few Instax pictures, then spread them out & shoot them with my iPhone. I always end up doing this when I’m on holiday, because it gives you a visual summary in just one frame!
I’m almost always carrying around an Instax camera, so I suppose this suggestion relies on having another camera on-hand… But if you do collect Instax, Polaroids or photobooth strips, this is a great way to document a segment of time!

Camera+ is always the first app I use to edit a photo. Once you’ve selected the photo you want to alter, you’re given five options: Scenes, Adjust, Crops, Effects & Borders. In Scenes, you can adjust the lighting of the photo. Choose from a huge variety of settings like Clarity, Auto, Flash, Backlit, Shade, Portrait, & so on. Camera+ has the best lighting adjustments I’ve seen of any app, & sometimes all a photo needs is a little brightness to make it pop!
The Effects tab has four groups: Color, Retro, Special & I  Analog. Each of these groups has 9 different effects, all of which are pretty fantastic.
The I  Analog group is a paid section, but it has a couple of my favourite filters in it: XPRO C-41, Diana & Silver Gelatin. Silver Gelatin is the filter I added to the sample photo above! Once you’ve purchased access to this section, you can use it forever… & I think you will!
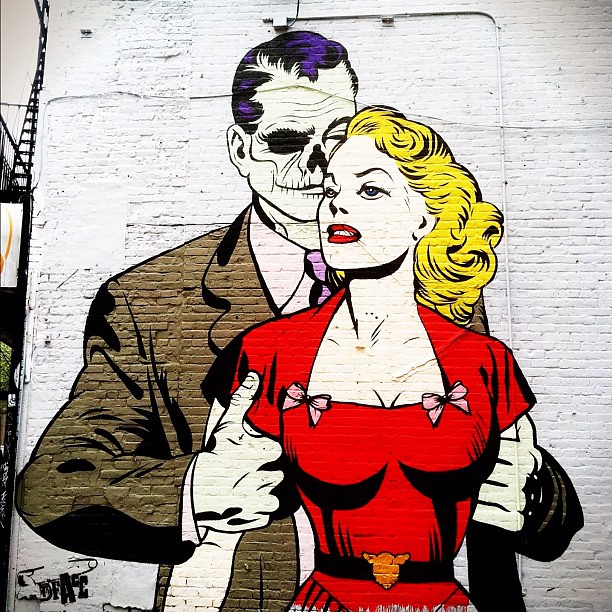
Some of my favourite Instagram photos are not of anything I made or created, or even of someone I know. Often they’re simply pictures of art on the street.
NYC is a great place to do that: there’s art practically everywhere you look, from stickers on lampposts to huge murals on the sides of buildings. Everyone here has something to say & a lot of those people are excellent at expressing themselves visually, so it seems like a mistake not to capture your favourite examples!
Shooting the art you see is a fantastic way of documenting the way your city changes over time. Murals get tagged up, stickers get pulled down, advertisings goes up where posters once stood, & nothing remains the same. So snap your favourite art, because it might not be there tomorrow!

First things first: Camera Awesome has an “Awesomize” slider, which increases brightness, contrast & vibrancy all at once. If you want to keep things really simple, just use that. It does a great job!
The Presets & Filters tabs are fantastic on here, & there are a LOT of options. Camera Awesome is another one of those apps where some of the features are free, but a lot of them are paid. It’s 99c to purchase 9 filters, & just like with Camera+ you get to use them forever. Camera Awesome has some really dramatic effects, as well as textures & frames.
This app doesn’t have the most intuitive design, but you’ll get the hang of it! It’s definitely worth experimenting with!
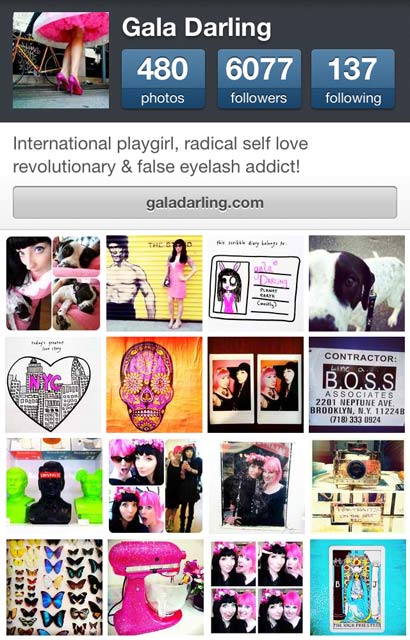
As much as we all love to shoot endless self-portraits, there’s something refreshing about an Instagram feed which is diverse & full of surprises!
You could even use your Instagram account as extra incentive to go out & explore your city. I always end up snapping the best pictures when I’m somewhere a little unknown, & seeing with new eyes. For example, last week I went out exploring with Kat & Gareth. We ventured into a store called Georgetown Cupcakes — which I’d never been into before — & we discovered this pink bedazzled KitchenAid! OH MY! I asked if I could take a photo, they said yes, & what resulted is my most-favourited photo on Instagram… ever.
It’s not just about accumulating “likes” & “followers” though: if you shoot what you love, even if no one else follows you, you’ll still get a lot of pleasure out of Instagram.
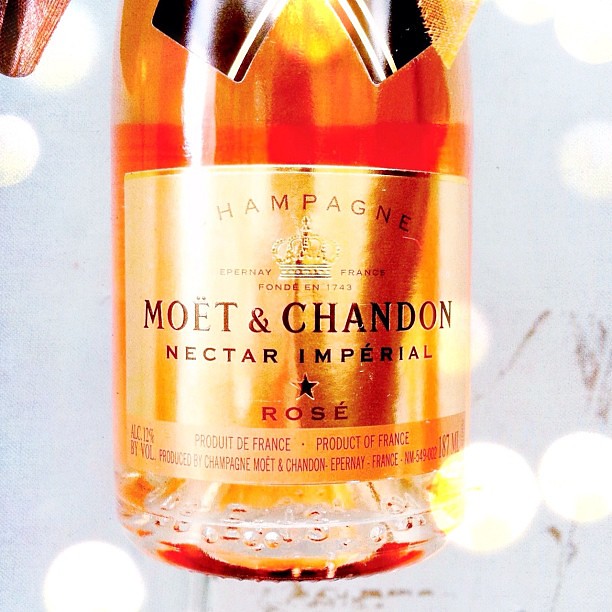
Picfx has a lot of options, including Vintage, Cross Process & Premixed filters, but where it really shines is in its selection of Light filters. Oh yes, if you’re looking for bokeh, this is the app to use!
I used Picfx to add those little bubbles of light to this photo of pink champagne, & I think it definitely adds to the image! (I also used Camera+ & Camera Awesome to brighten & intensify the colours!)
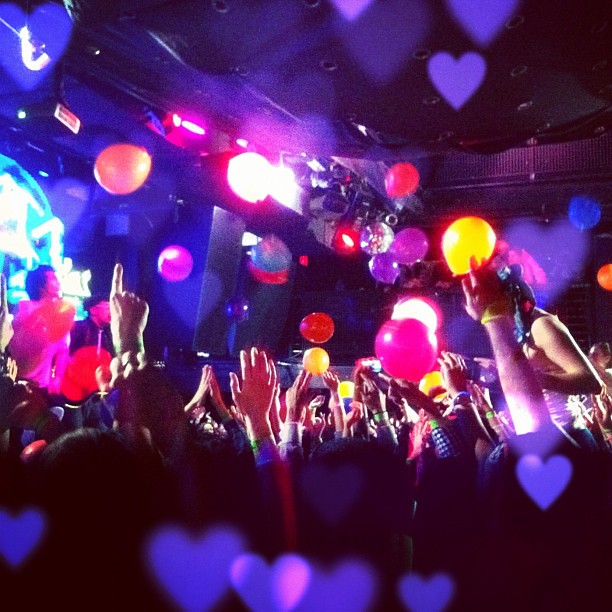
Truth time: LensLight is a little bit cheesy. The design is not wonderful. But if you’re looking for starbursts, heart-shaped bokeh (oh yes!) or sparkle spectrums, you’ll be ALL about it!
This photo taken at the YogaRave was CLEARLY begging for purple heart-shaped bokeh! Right?!
I used LensLight to add the rainbow effect to this building covered in ivy, too. So pretty.
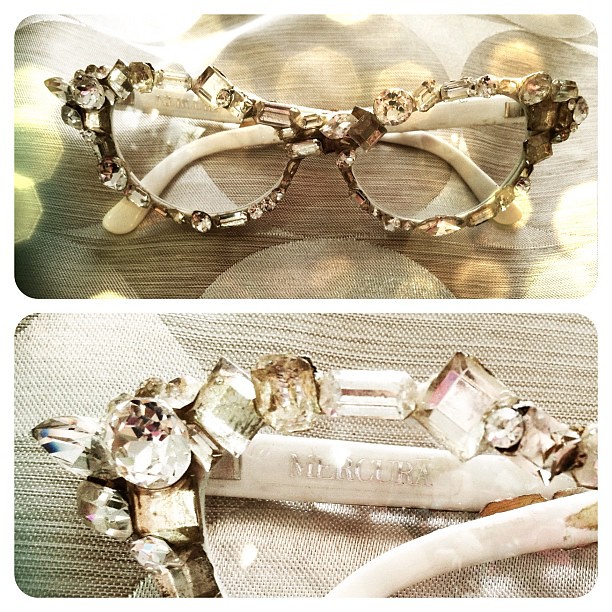
There are a lot of apps which allow you to combine several pictures, but PictureFrames is my favourite. You can add rounded corners to your frames, change the border colours & thickness, & also resize the frames. Brilliant! It’s a great app for showing details or a few sides of one object!
For this image, I processed each photo with Camera+ before importing them into PictureFrames. I changed the brightness of the image in Scenes & then added some colouring in Effects. I also added some bokeh to the top picture using LensLight! You can see how just one app can be a gateway drug!
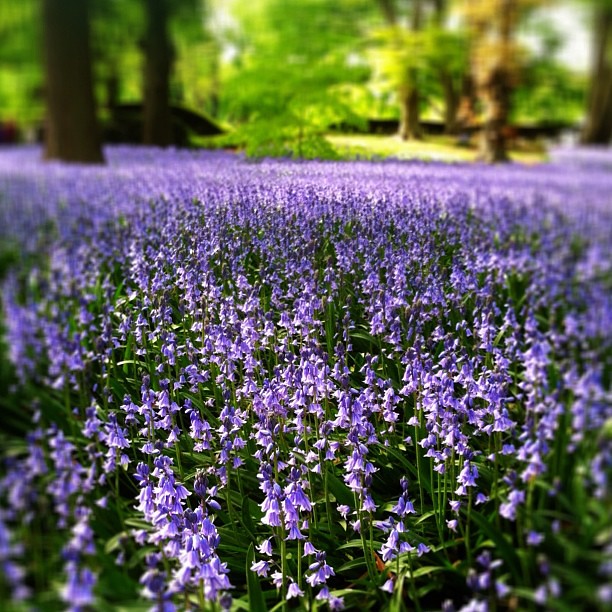
Looking at my Instagram profile makes me smile, because essentially, it boils down to a collection of photos of things that I love. Some people don’t “get” Instagram, but if you think of it as a kind of digital scrapbook, it starts to make more sense. It doesn’t have to stay digital & intangible, either: there are a handful of companies who will turn your Instagram photos into little books, stickers, or even print pillows with a selection of your favourite pictures!
Don’t fall victim to Instagram anxiety, or the need to get 1000 likes in under a minute. Only post when you feel genuinely inspired to share something, & you’ll quickly become as obsessed as I am!

If you want to follow me on Instagram, my username is galadarling… & I’d love to see what you end up shooting! Let me know if you use any of the apps I suggested, too. I love them!
Click click, flash flash!
